Preface
After downsizing from my power-hungry Dell R730xd to a more efficient NAS, I've sorely missed the integrated IPMI (Intelligent Platform Management Interface) features of the Dell. The convenience of out-of-band (OOB) access to the BIOS and serial console via a web UI was invaluable. I wasn't afraid to experiment or make hardware changes, knowing I could always recover remotely. Unfortunately, I've had a few instances where I've borked my DIY NAS with consumer hardware, which doesn’t have OOB management capabilities, forcing me to drag a monitor and keyboard to my server rack just to troubleshoot basic hardware issues. This made me increasingly hesitant to make hardware changes, as I don't keep a dedicated monitor and keyboard readily available in my rack.
The ideal solution, of course, is some form of OOB management capability. AsRock, for example, offers an IPMI PCIe card with an ASPEED IPMI chip onboard, theoretically providing a similar OOB experience to my old Dell. However, these cards often retail for around $400, making them a less-than-desirable option for a homelab environment.
Then, PiKVM emerged, promising functionality that matches, and sometimes surpasses, what the Dell IPMI could do. The biggest hurdle? Finding a Raspberry Pi to actually run it! While I know a Pi 4 isn't required, I'm not particularly interested in overpaying for older Pi models. It's just a personal preference to not invest in outdated tech if I can avoid it.
Then, I saw a tweet from Sipeed that caught my eye:
Mini #RISCV #KVM coming~
— Sipeed (@SipeedIO) March 26, 2024
As small as 36x22x15mm, On board 1080P HDMI in, virtual USB HID device, 100M Ethernet, and support #PiKVM , under 20$!
Based on LicheeRV Nano: https://t.co/2KUTs5xo5b pic.twitter.com/ylTtTRtnzH
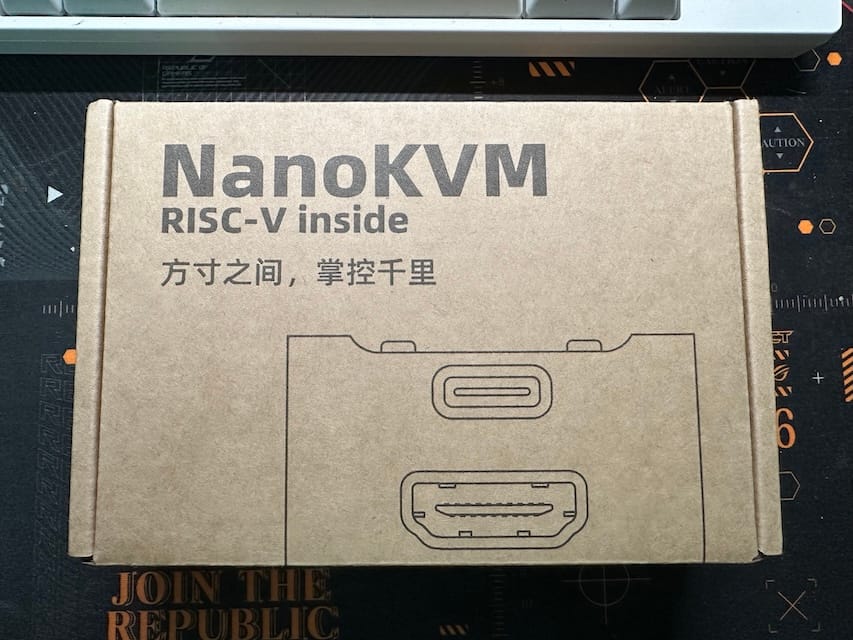
This is what we'll be testing today – the NanoKVM (Full) from Sipeed, offering OOB management capabilities without breaking the bank. Let's see if it lives up to the hype!
The Sipeed NanoKVM
The Sipeed NanoKVM (Full) arrived in a small, unassuming box.
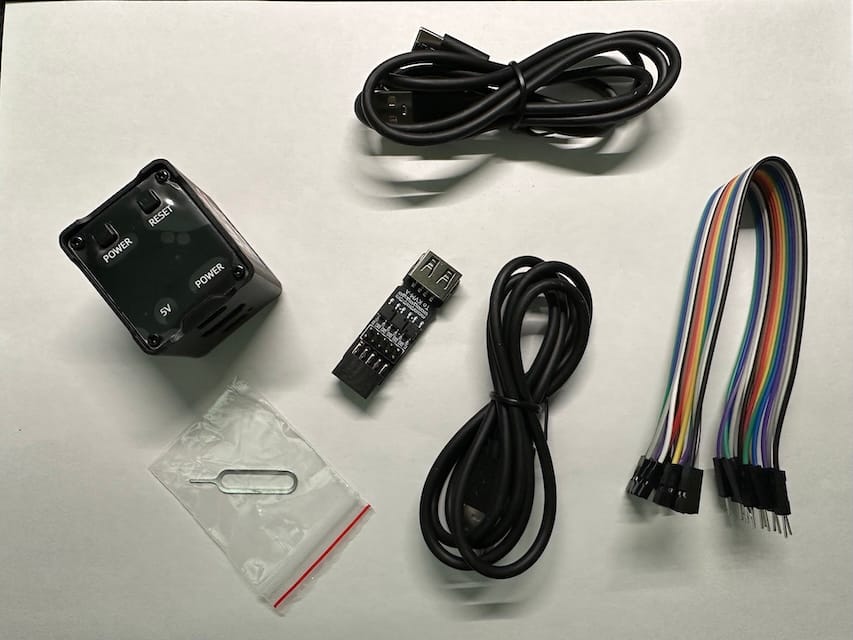
Inside, I found the NanoKVM (full) unit itself, a breakout board for connecting to ATX front panel headers, and a SIM card pin – which, as it turns out, is for poking the reset button.
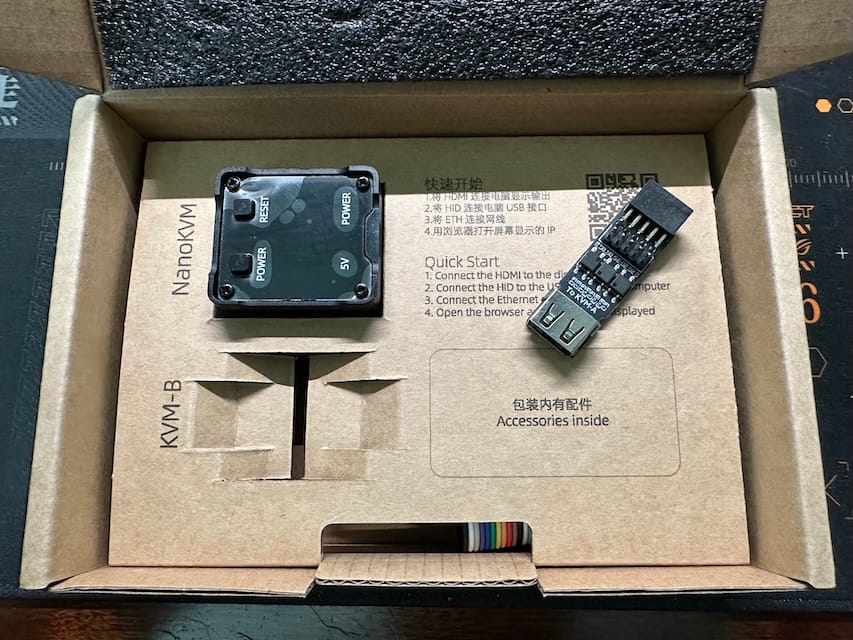
Beneath that, I found two USB-C cables and a ribbon cable. Here's everything that comes in the full kit:
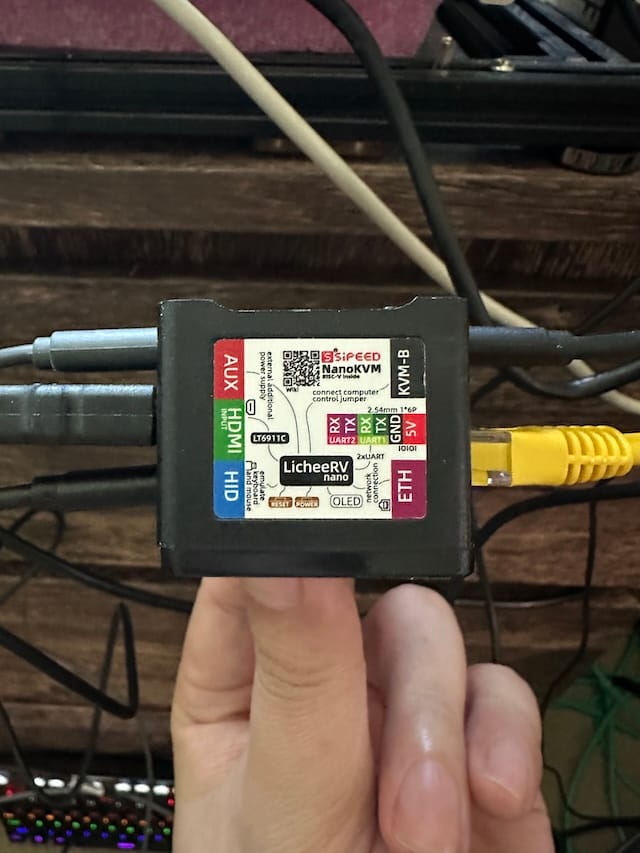
Now, let's take a closer look at the NanoKVM unit itself. It's thoughtfully labeled with color-coded legends, providing clear instructions on where to plug in the cables:

The device is surprisingly compact, even smaller than a GoPro. It features an HDMI input, a USB-C port for USB device emulation, a USB-C-like port (more on that later) to connect to the NanoKVM B breakout board for controlling the ATX headers on the host, an Ethernet port for network connectivity, and another USB-C port for auxiliary power. There are also a couple of status LEDs, along with power and reset buttons.
The NanoKVM promises a comprehensive out-of-band management experience. According to Sipeed, it allows for full remote KVM access, including BIOS manipulation, serial console access, and even the ability to mount ISO images for remote OS installation. It also includes remote power control, letting you power on, power off, or reset your server remotely. The HDMI capture resolution is advertised as 1080p@60Hz. This seems aimed at homelab enthusiasts and small business users who need remote access to their servers without the cost of a full-blown enterprise IPMI solution.
Wiring Up the NanoKVM
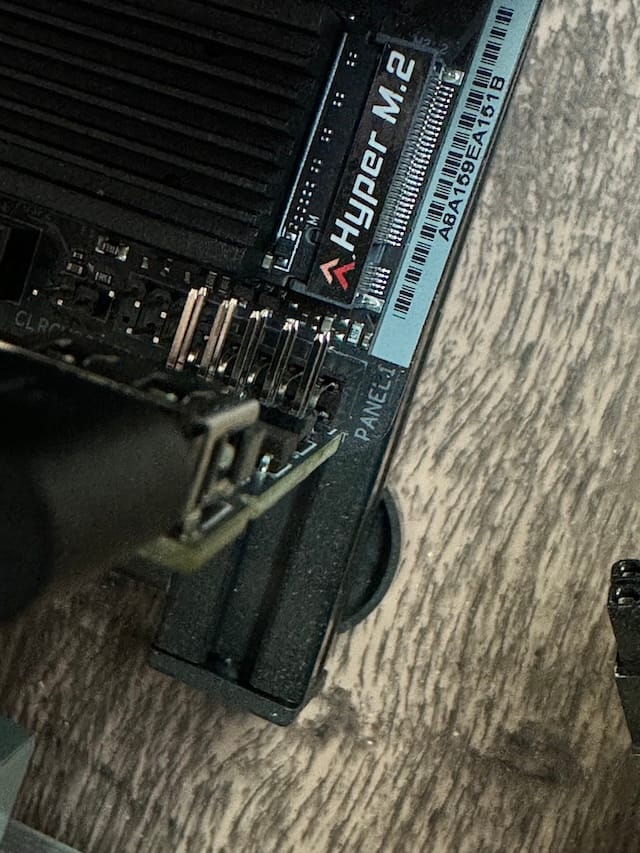
First things first, let’s get everything wired up. I started by plugging the breakout board directly onto my motherboard's ATX headers. Then, I connected the breakout board to the NanoKVM itself using one of the supplied USB-C cables, plugging it into the "KVM B" port, which looks like a USB-C port but isn't quite the same as it does not run on the USB bus.
Next, I used one of my motherboard’s USB-A ports that can deliver 5V power after S5 (power down, not off) to power the NanoKVM's HID port. Important note: If your motherboard doesn't support USB power after S5, you'll need to use auxiliary power from a separate power source, such as a power bank.
Finally, I connected the HDMI port to my GPU and Ethernet port to my switch.
Here's what the completed wiring looks like:
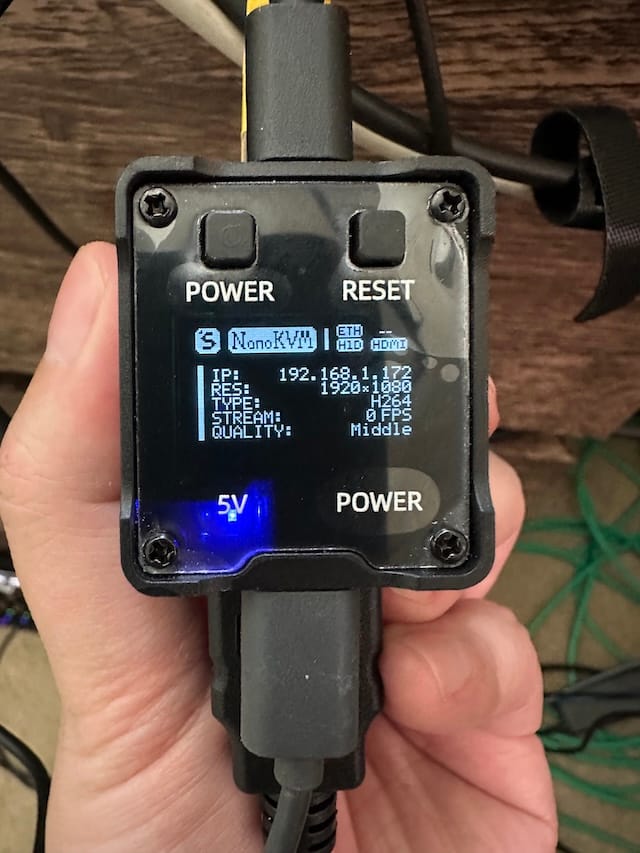
The unit powers on as soon as it's connected to a power source – in this case, my motherboard’s USB port. After a short time, the OLED screen lights up, displaying useful information such as the unit's IP address and current capture stats.
From this point on, the unit should be fully operational, and we can access the web management interface by pointing a browser to the IP address displayed on the screen.
NanoKVM - the Web UI Experience
After opening the address in my browser, I was greeted with a login menu, which defaulted to admin/admin .
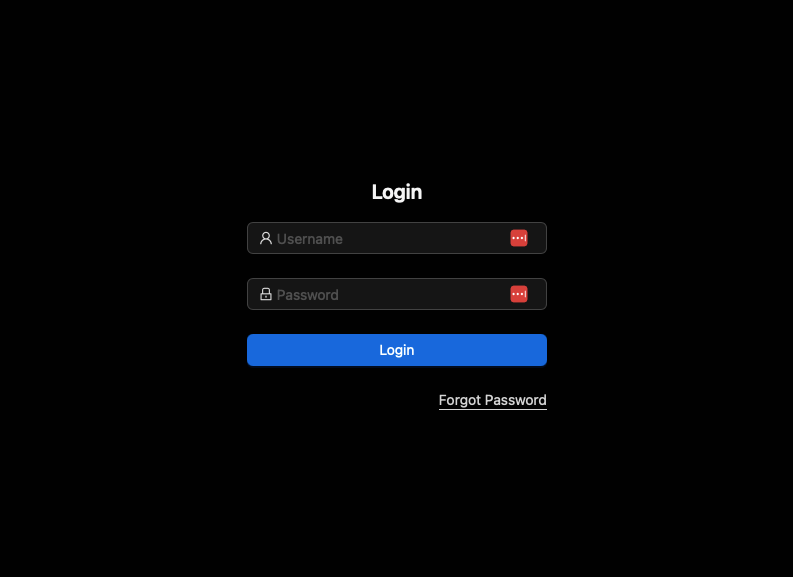
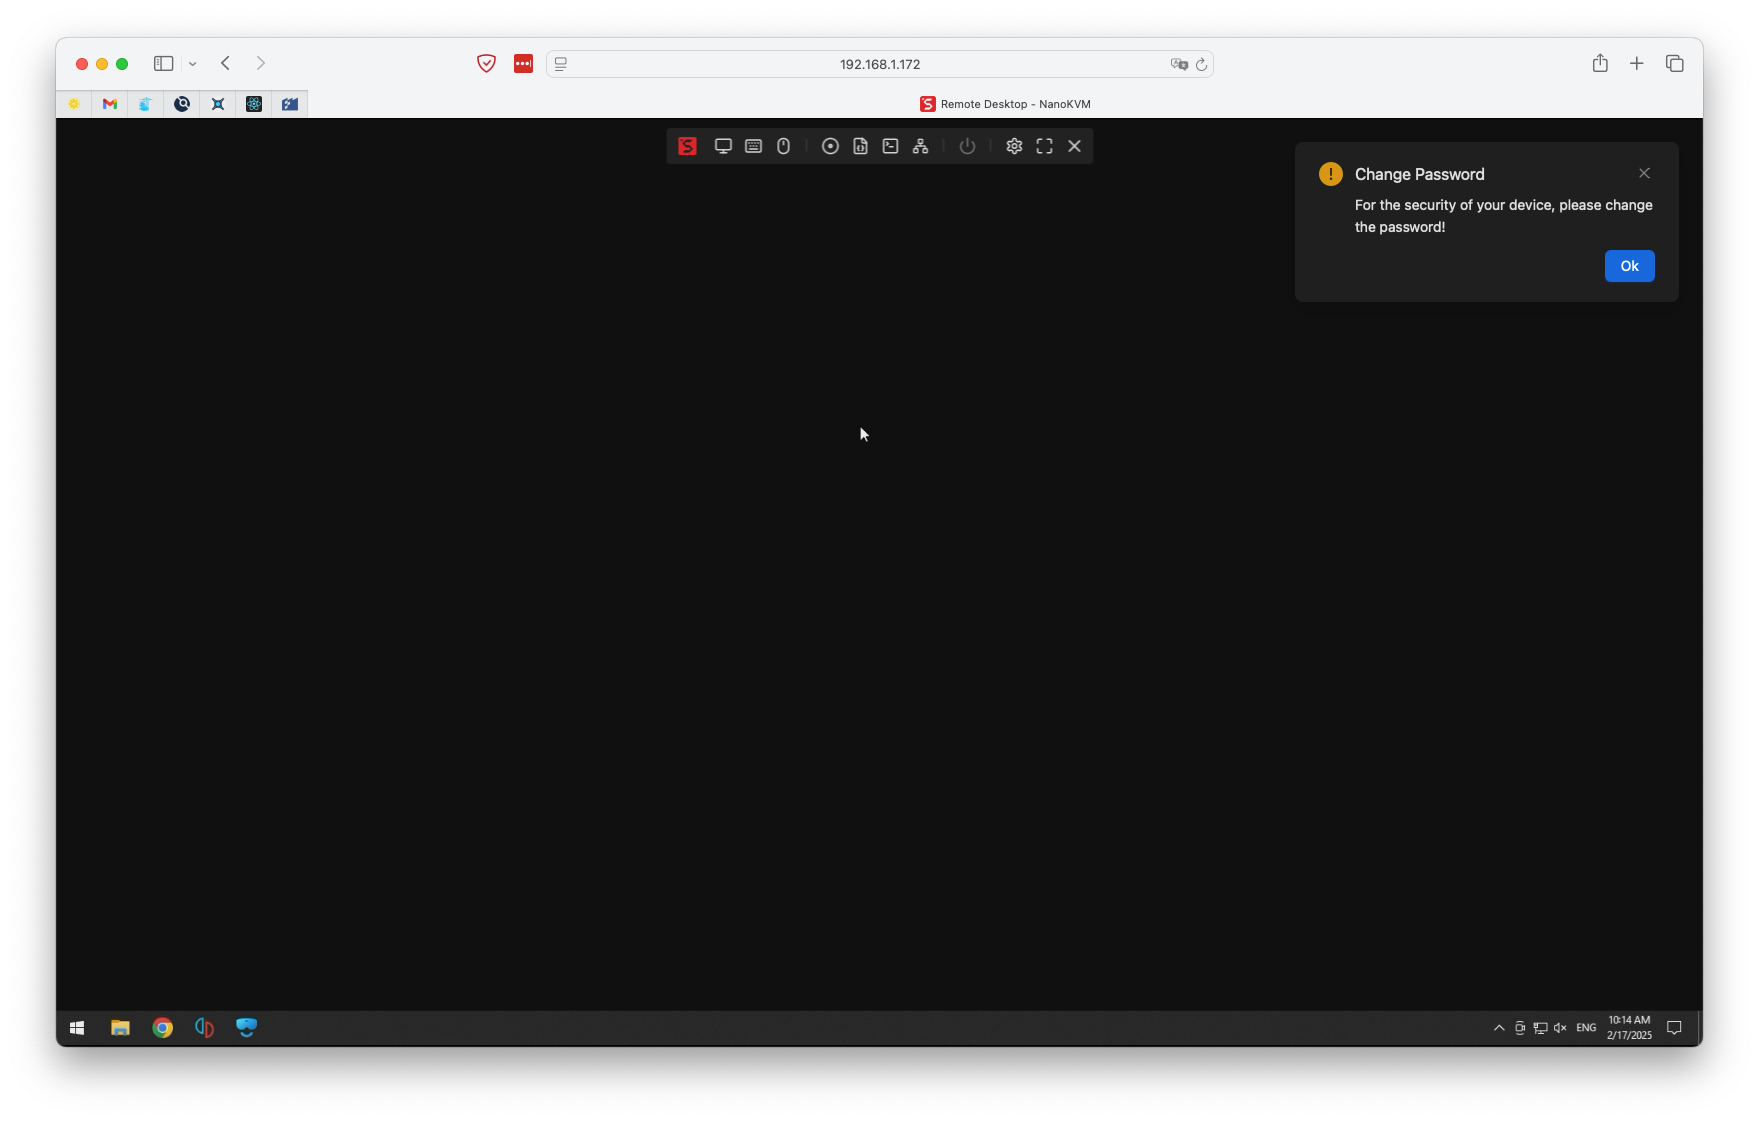
Upon successful login with the default credentials, I was asked to update my password immediately, which I promptly did. From here, we can see the main UI is the small nav bar on the center top of the screen. All of the features are accessed from this bar, which in my opinion is very user friendly with minimal learning curve.
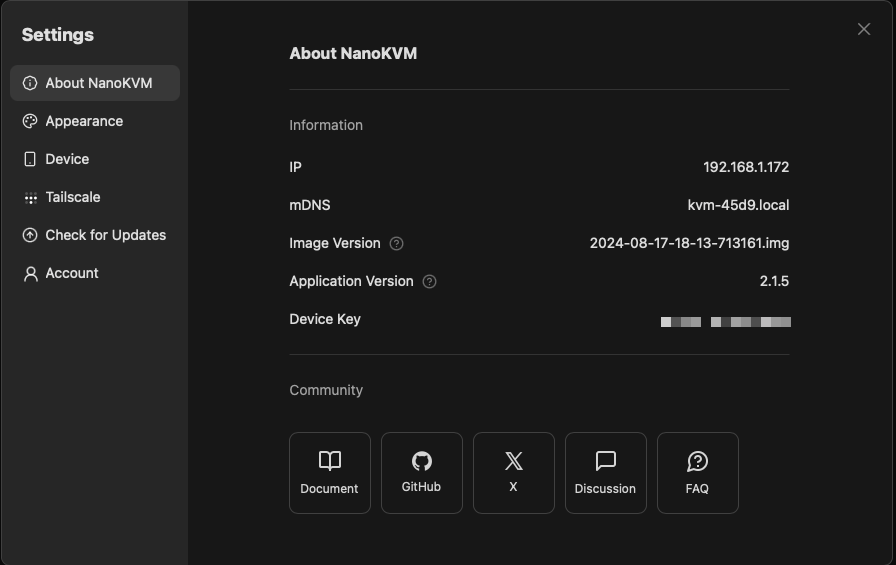
I then clicked on the “gear” icon to get to the “Settings” menu. At a glance, there isn’t much to be configured.
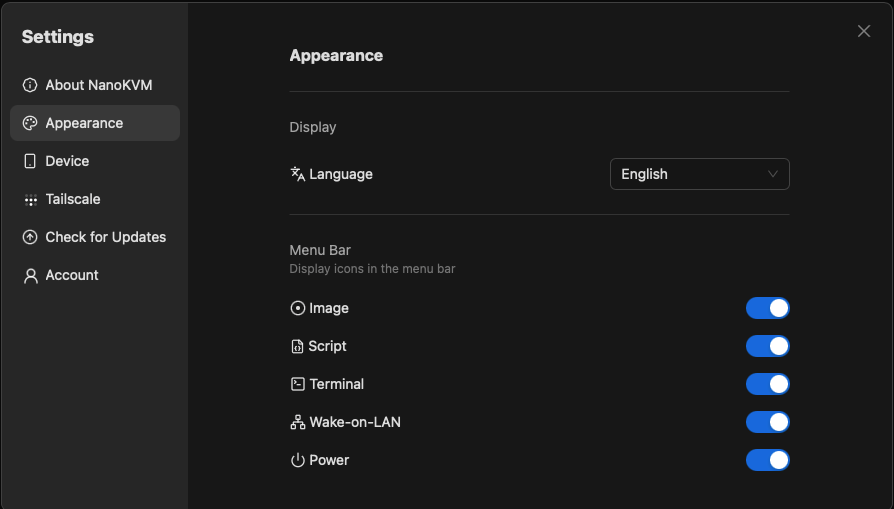
In the “Appearance” tab, I can customize the language and which function to be shown or hidden from the nav bar.
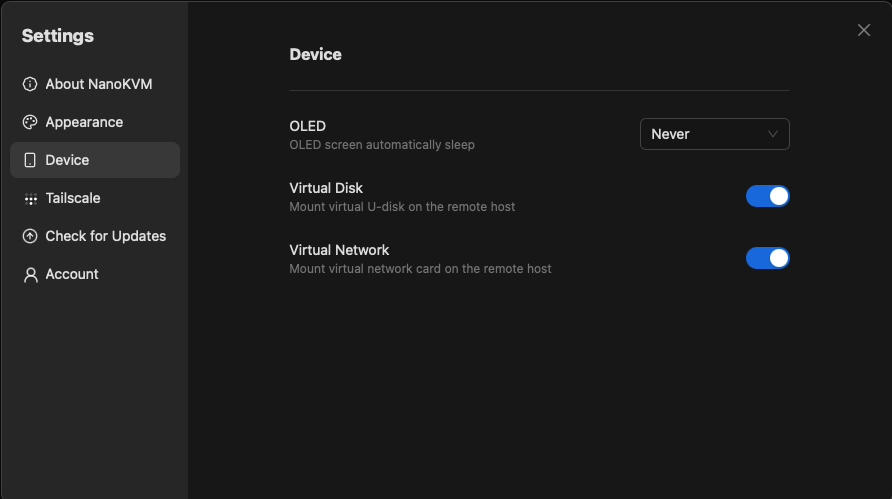
The “Device” tab is interesting. It lets you to turn on and off “Virtual Disk” and “Virtual Network” functions - more on this later.
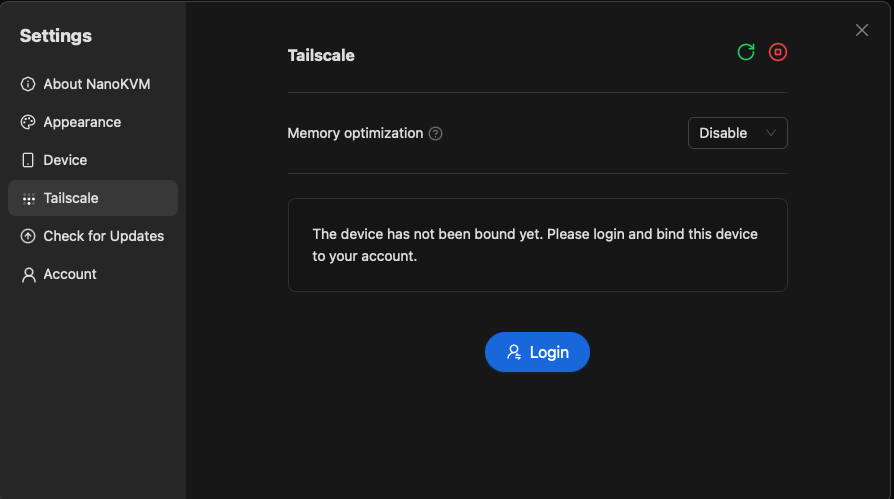
Then there’s the “Tailscale” tab. I don’t use Tailscale, so I disabled the package entirely by clicking the red “stop” button on the upper right corner. I won’t be covering this functionality, either.
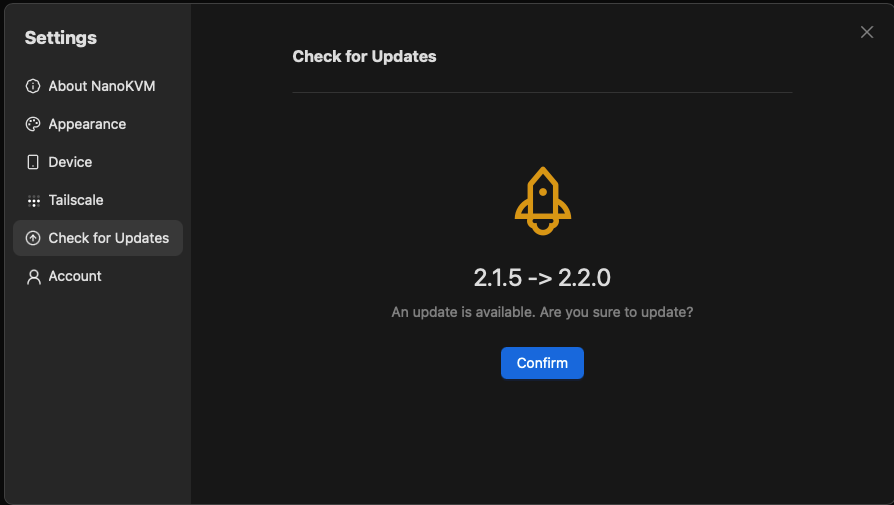
Next, the “Updates” tab. It seems to have a newer version of the software, which I will update later.
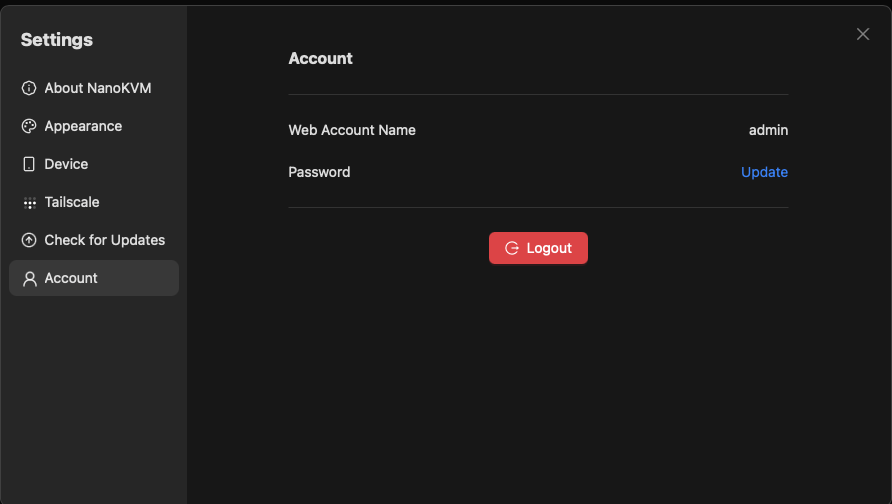
Finally, the “Account” tab, where I can change the password and logout of my account.
NanoKVM - the IPMI Experience
True OOB Management Agent
One of the biggest drawbacks of traditional remote desktop solutions is that screen capture happens at the OS level and often relies on a graphical UI and hardware acceleration to function. An OOB management interface, as the name implies, operates independently of the system, allowing management even at the BIOS level.
The NanoKVM, being a RISC-V SBC (Single Board Computer), can capture the HDMI signal and emulate a mouse and keyboard. This effectively makes it a standalone OOB management agent, facilitating communication between user inputs and system outputs through its web UI.
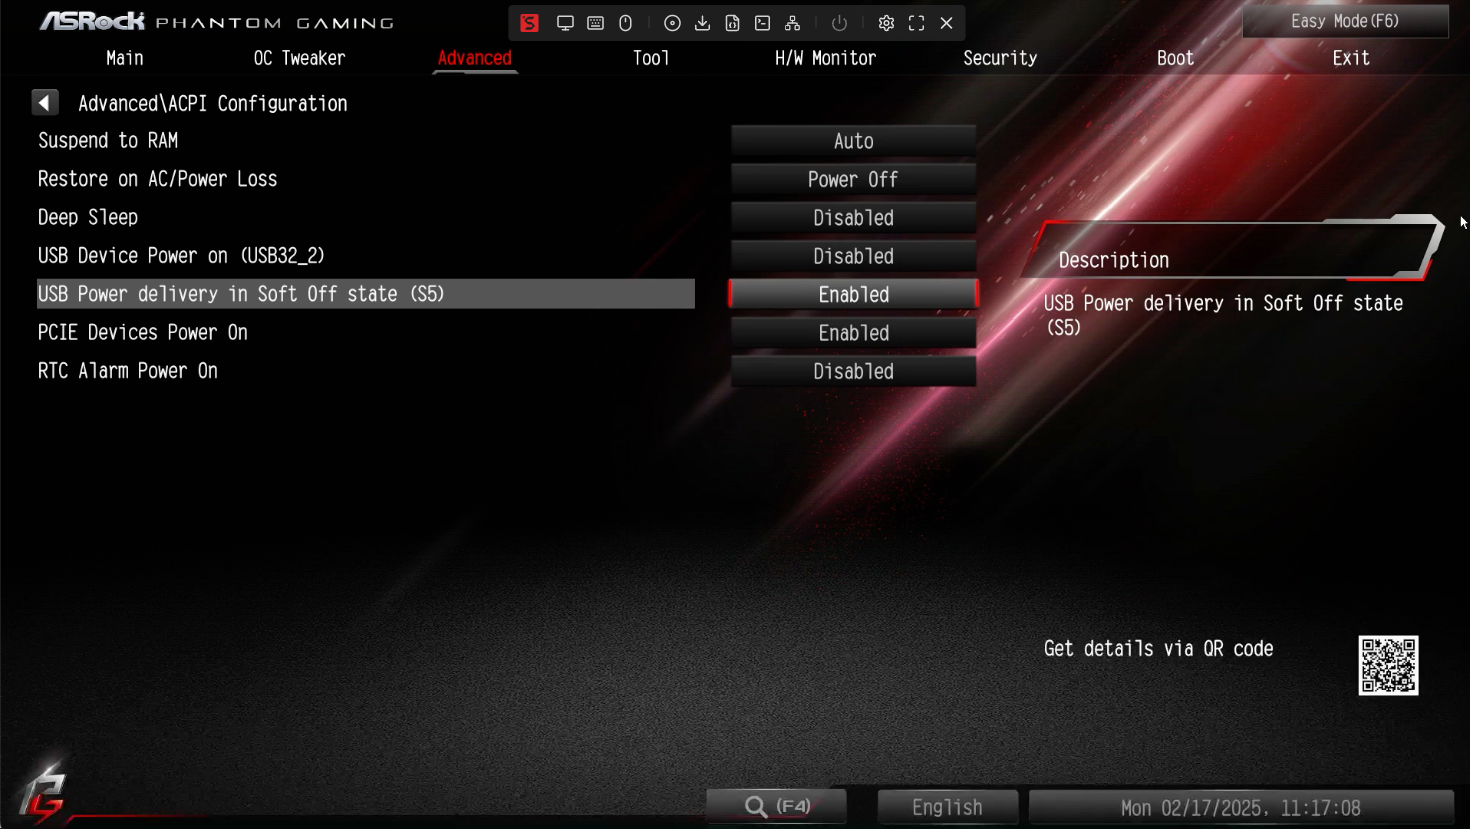
Here's a screenshot I took from the web UI while in the machine's BIOS screen. No remote desktop software can do this, and it's precisely what makes OOB solutions so valuable to homelabs – it enables a whole new level of manageability. Speaking of which, here's the BIOS setting for USB power after S5. Turn this on, and the NanoKVM can receive power even when the system is powered down.
After the system boots up, it functions more like a traditional remote desktop service, capturing the host's video output and relaying remote client input for mouse and keyboard control.
Virtual Disk
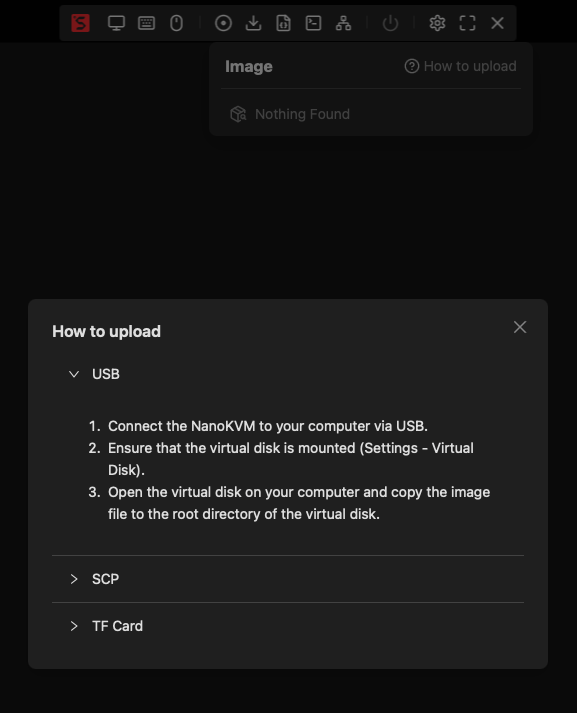
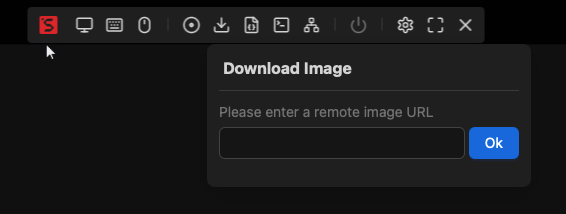
Next, I tested the “Virtual Disk” functionality. To get a file (often an ISO) onto the host, you can either A) Upload it to the TF card, or B) Download it from an URL:
The “Virtual Disk” functionality must be enabled in the settings.

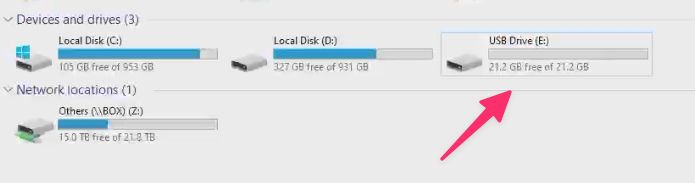
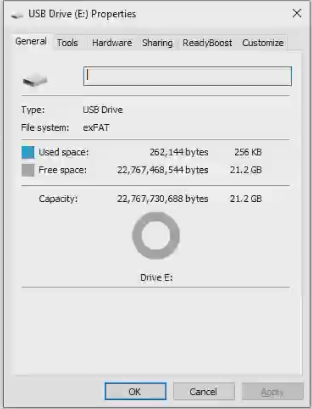
Once enabled, a new USB drive appears in Windows Explorer, formatted as ExFAT.
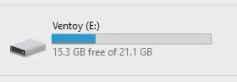
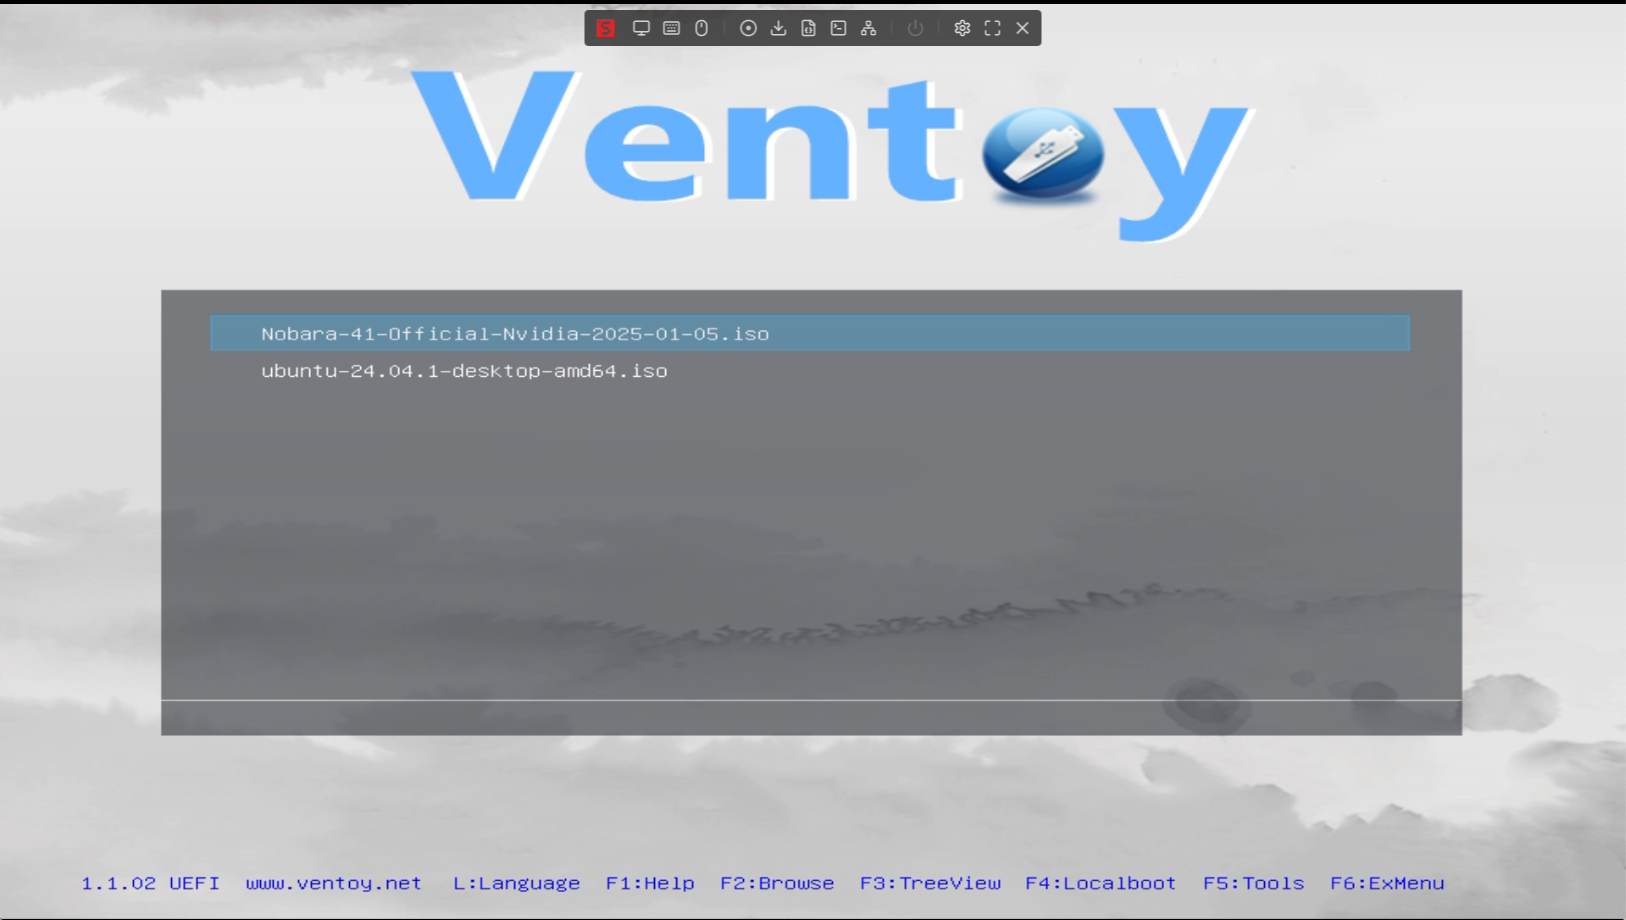
I was curious if I can get it to boot Ventoy, so I downloaded the Ventoy Windows Installer and prepped the USB disk. Viola! Ventoy was successfully set up.
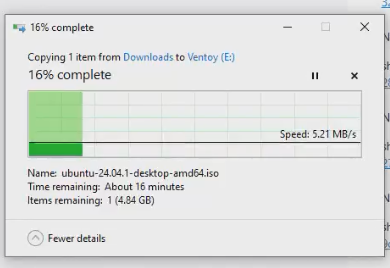
Then I downloaded the Ubuntu Desktop ISO and transferred it to the “Ventoy” partition, which was abysmally slow. I, too, transferred a Nobara Linux ISO.
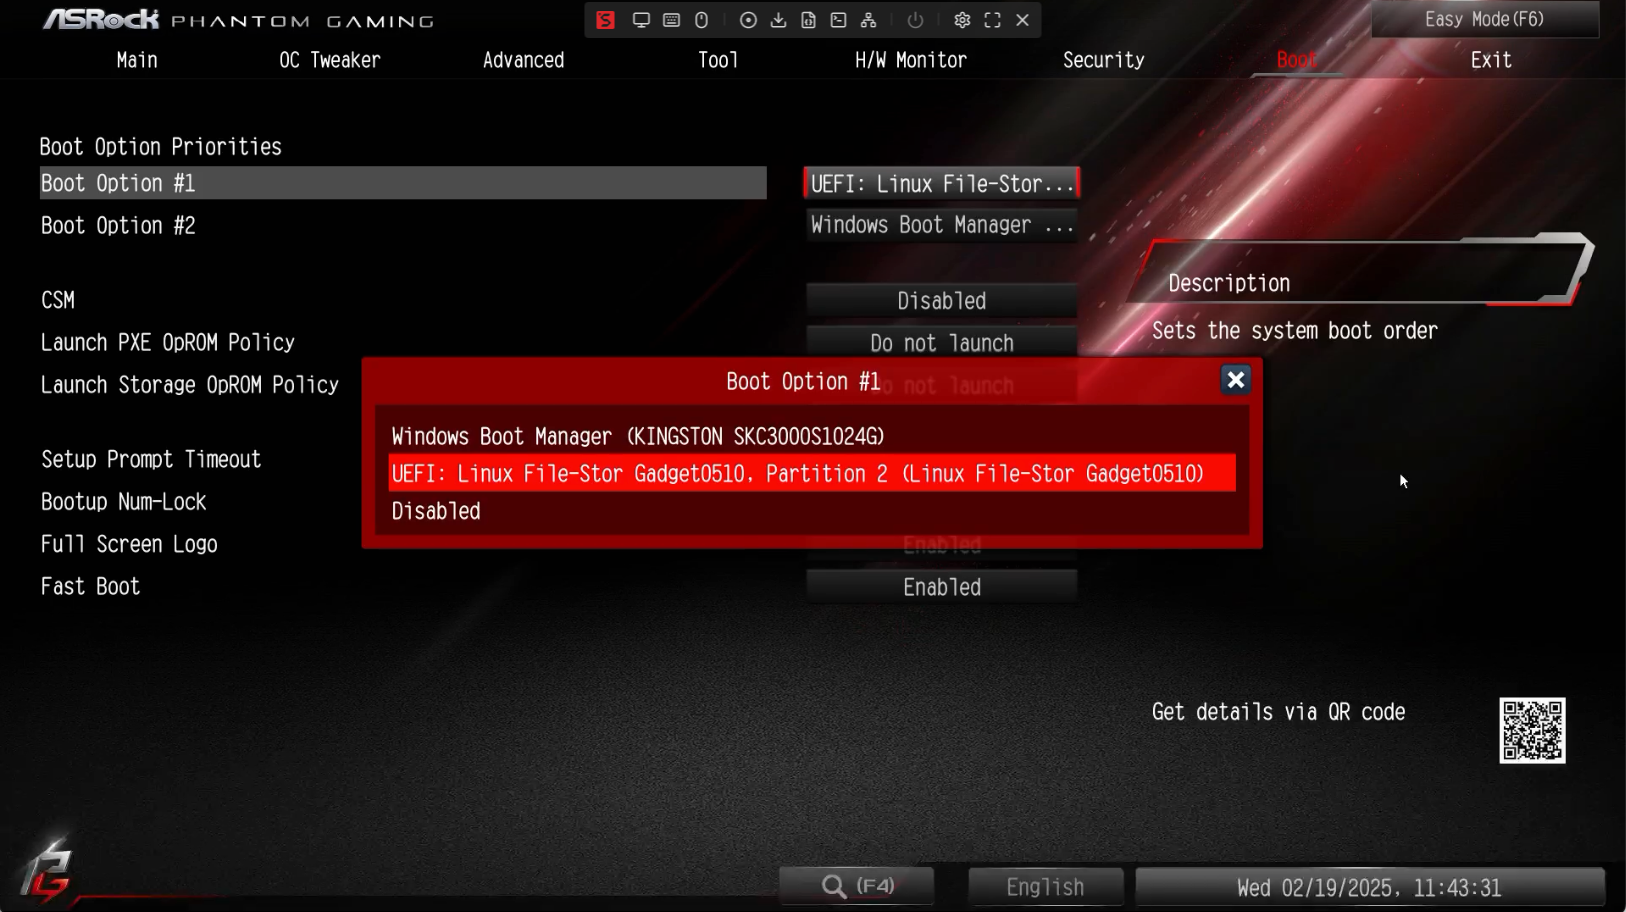
If it all goes according to the plan, I should be able to go into the BIOS, set the boot drive to the USB drive that NanoKVM exposes to the system, and boot to Ubuntu Live environment, or install Nobara Linux, all from the Web UI.
After rebooting, I used the onscreen keyboard to drop into the BIOS section. Surprisingly, the emulated mouse also works in the BIOS. I changed the boot order to boot from the emulated USB disk.
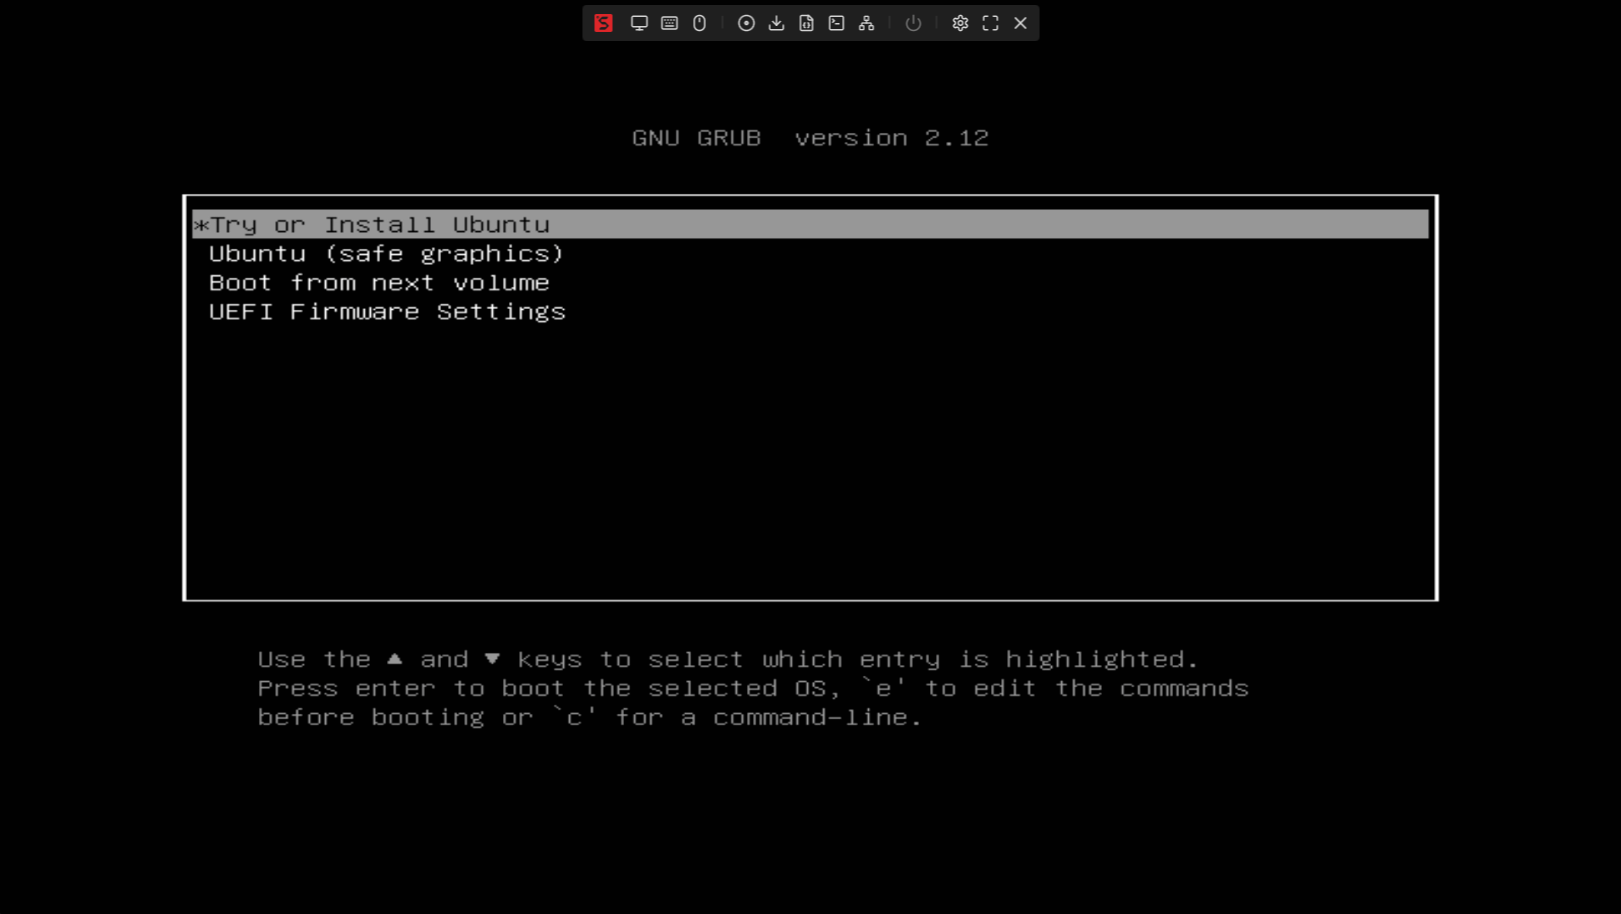
After a short reboot, Ventoy showed up, along with my ISOs.
Let’s take a look at Ubuntu:
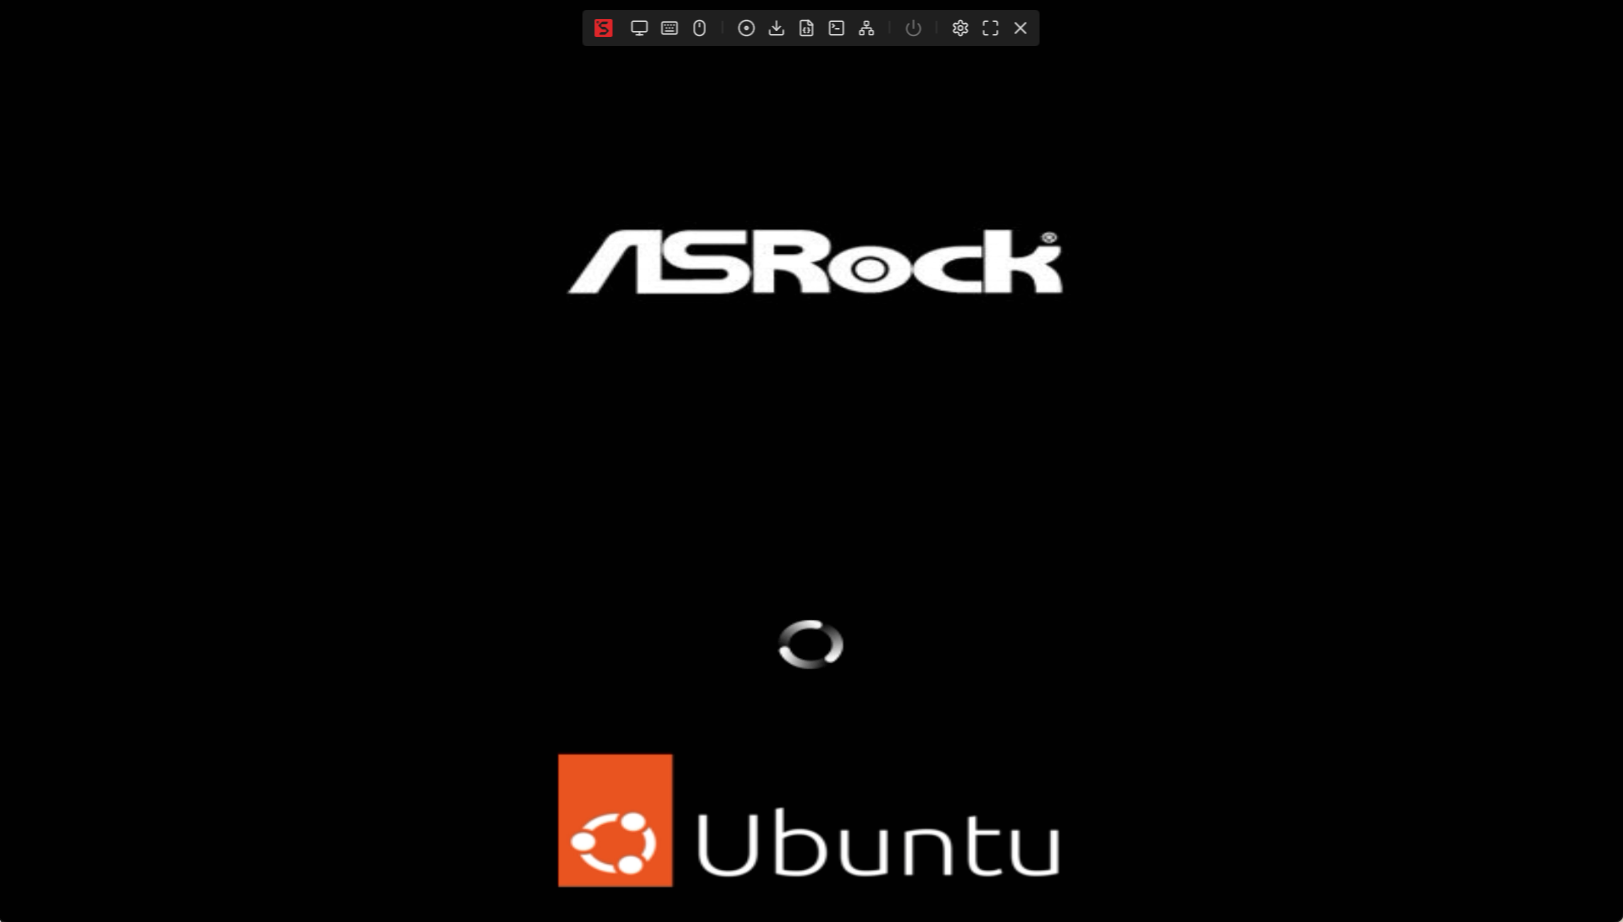
I’m not gonna lie - this is like magic. Not even the Dell IPMI can do what NanoKVM just did - exposing a portion of the TF card as a USB flash drive, and the user can format the said flash drive to use Ventoy for ISO booting. Fantastic!
Of course, given the performance of the “flash drive” peaked at 5MB/s, running a desktop OS, even just the Ubuntu Live Environment, is too much to ask. I wonder if this is related to my crap Micro Center branded TF card.
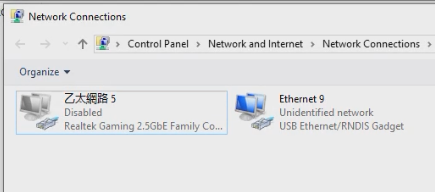
Virtual Network
After I booted back to Windows, I disabled all local network interfaces and enabled the "Virtual Network" functionality. As it turns out, RNDIS, which is responsible for virtual network interfaces, needs drivers in Windows 10. Sipeed has a well-written guide on how to install it here.
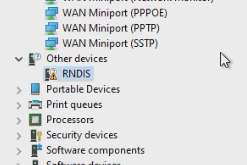
After a few tries, the driver installation completed, and Windows was able to initialize the device.
According to Sipeed, the RNDIS service is used to troubleshoot NanoKVM itself. It does not appear to have the capability to act as a bridge to connect an air-gapped host to the network. So I’ll just leave it at that. I don’t recommend keeping this turned on at all times since RNDIS has some serious security downfalls.
Quirks
After using it for a couple of days, I found a few quirks that may or may not be deal breakers to some perspective buyers.
1. Input Lag
I will demonstrate the input lag by showing the following GIF. It is atrocious - far, far slower than the vanilla Microsoft Remote Desktop.
2. Instability
I have experienced the HID device would just stop working, with no resolution but to reboot the whole unit.
3. Software Has Rough Edges
This would be a long topic if I detail all the “should-have-dones”, so I am just going to provide a list of areas that I think are in need of improvement.
- The emulated flash drive should be able to take in uploads from the Web UI.
- The Wake-on-LAN functionality should be able to save a list of devices to send WoL packets.
- RNDIS should be able to act as a bridge for air-gapped hosts, with firewalling, of course.
- Overall Stability. I’ve ran into problems with HID emulation, and this should not happen. This NanoKVM is often the last resort to get a remote host back online, so anything related to input problems are absolutely unacceptable.
Conclusion
Okay, I'm going to be straight with you: The Sipeed NanoKVM (Full) is kinda awesome… with an asterisk. The fact that you can get this level of OOB management for so cheap is incredible. Being able to access the BIOS and boot from Ventoy over a virtual USB drive felt like pure wizardry! Forget lugging a monitor and keyboard to the server rack – this is the future!
But… (you knew there was a "but," right?)… it's not perfect. The input lag can be brutal at times, the HID device sometimes flakes out, and the software needs a bit more love. Think of it as an early access game – full of potential, but with a few bugs to squash.
If you're a tinkerer, a homelab enthusiast who loves to experiment, and you're willing to put up with a few quirks, then the NanoKVM is an absolute steal. You'll get features you never thought possible at this price point. But if you need something that "just works" without any hassle, you might want to wait for a future revision or look at more established (and pricier) options. Despite its flaws, the NanoKVM has definitely earned a place in my rack, and I'm excited to see how Sipeed improves it in the future!
Parting Tips: Security and Network Considerations
Recent discussions have highlighted the security aspects of devices like the NanoKVM, and while it's not inherently insecure, it's important to be mindful of best practices. Since I was unable to find any documentation describing encryption for the KVM stream, users should take appropriate measures to secure their network and access to the device.
One simple yet effective measure that Sipeed could implement is including a sticker displaying the device's MAC address on the unit itself. This would allow users with heightened security needs to easily blacklist the device at their firewall from the MAC address level, preventing it from accessing the internet if desired. This approach provides a straightforward way to isolate the device on the network, mitigating potential risks without requiring deep technical expertise.
Price and Availability
The NanoKVM can be purchased from Sipeed's Aliexpress store. They offer a couple of different packages.
NanoKVM Full (What I got) - about $44
NanoKVM Lite (Without breakout board, case, screen, cables) - about $20